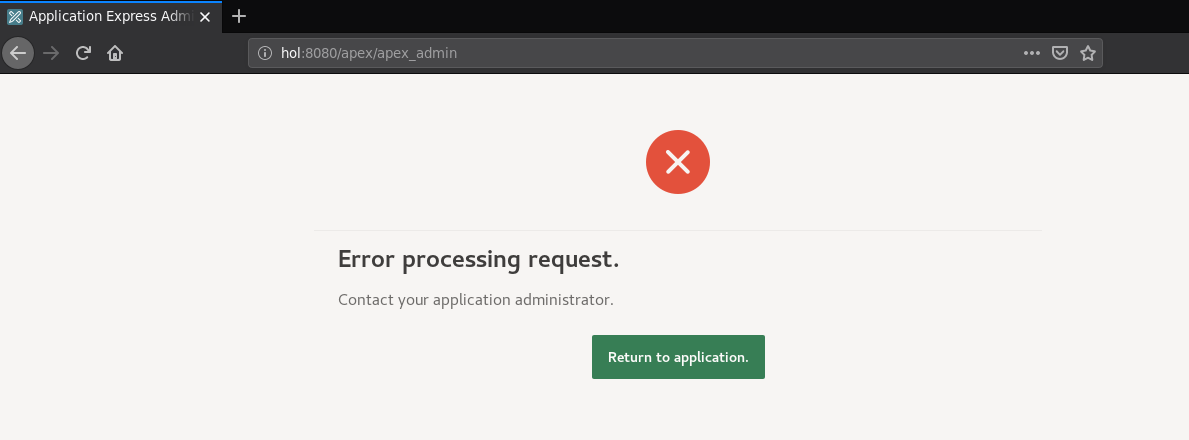
Physical Machine to Virtual Machine converting – Linux P2V (Unable to access resume device)
Unable to access resume device
mount: could not find file system /dev/root
setuproot : error mounting /proc: No such file or directory
Kernel panic - not syncing: attempted to kill init!
Convert Linux Physical Machine to Virtual machine (vmware and Virtualbox). Same procedure is working on vmware and virtual box
A fine morning
started with a new question in mind, what if I could convert our Linux physical
server to vm. This lead me to finishing the task and documenting it.
The
complete migration process of Linux
physical machine to virtual machine. The following steps have been tested on
oracle enterprise Linux 5. I will be sticking to OEL 5 during complete process.
The
process comprises of taking a backup of physical machine and restoring it on a
virtual machine
Back up the physical server
Startup
a terminal on the physical server and change to maintenance mode
shutdown
-y -g1 (in 1 minutes system will go to single user mode)

Unmount
all partitions that you don’t want to include in the backup, in our case we are
going to backup only root file system
tar
cvpf - --exclude=/proc --exclude=/lost+found
--exclude=/bkp.tar.gz --exclude=/mnt --exclude=/sys / | gzip > /bkp.tar.gz
or
tar
cvpzf /u01/bkp.tar.gz --exclude=/proc
--exclude=/lost+found --exclude=/u01/bkp.tar.gz --exclude=/mnt --exclude=/sys /

--exclude
:- use this option to exclude any file/directory from backup
Tar
with z option is using absolute path in this example
Note:
make sure you have excluded the current
backup file name using exclude option
copy the tar file and save at a location which
we can access when restoring.
Creating Virtual Machine of Physical Server (Restoring)
Create
a virtual machine and start it with Oracle Enterprise Linux 5 bootable media(cd/iso)
Type
linux rescue in the prompt

During
the boot up process in rescue mode system prompts you to configure network if
you want to copy files from network configure network here,
Note:
By default vm is in NAT so don’t forget to change
it to bridge if you are copying from a network
Partition the hard disk.
fdisk
/dev/sda
use
n to create new partition
use
t to change partition id to swap(82)
use
a to toggle bootable flag
/dev/sda1
is our root partition(/)
/dev/sda2
is our swap partition(swap)

create
file system
mkfs.ext3
/dev/sda1
this
is going to be our root partition for new server
mount
the partition under a new directory
mkdir
a
mount
/dev/sda1 /a
now
copy the backup files from the media (copy over network or any other way you
prefer)
I
am going to copy from an external hard drive which is connected to the vm
during startup
mount
the external hard drive with backup files
mkdir
backup
mount
/dev/sdb1 /backup
copy
the backup files to /a
cd
/a
cp
bkp.tar.gz /a or extract files to root directory directly (/a)
gzip
-dc /backup/bkp.tar.gz | tar xzpvf -
or
tar
xvpzf /backup/bkp.tar.gz
chroot
/a
create
the following directories
mkdir
proc sys mnt
edit
/etc/fstab to remove or comment automatically loaded partitions
and
add the new entries for our new root partition and swap
/dev/sda1
/ ext3 defaults
1 1
/dev/sda2 swap
swap 0 0

Edit
the grub.con file to modify the root partition related info

install
grub
Either
install it or reconfigure. To install just issue grub-install /dev/sda
Or
setup as follows
grub
find
/boot/grub/stage1
root
(hd0,0)
setup
(hd0)

at
this stage restart the vm in rescue mode again. during the rescue startup
system will ask to mount the Linux partitions automatically say yes and let
system mount the already created Linux partition for you

system
will mount it under /mnt/sysimage
now
issue chroot /mnt/sysimage to change root to our newly recovered partition
configure
the swap partition
mkswap
/dev/sda2
swapon
/dev/sda2
swapon
–s :- will show you swap partition details if you did it skipping the auto
mount option this is not going to give you swap details
Note:
if you manually mount the partition yourself
without letting the system to do it for you and chroot to manually mounted root
partition to configure the above swap setup, this is also resulting in kernel
panic error. So let system mount it for you before you start configuring swap
space. if you don’t do this way even after creating new ramdisk system will
stop and booting with kernel panic screen

now create new ramdisk image
backup
the existing one
cp
/boot/initrd-2.6.18-274.el5.img
initrd-2.6.18-274.el5.img.bkp
uname
-r to see your current kernel
ls
/lib/modules will list you all the
kernel modules you have
I
am using the default kernel as the other kernel is having errors while creating
ramdisk. As base kernel is listed second in the grub.conf file you will have to
make it default in grub.conf or select this kernel while booting up the system
mkinitrd
-v /boot/initrd-2.6.18-274.el5.img
2.6.18-274.el5

exit
poweroff
remove
bootable cd
Note:
don’t
forget to select the base kernel 2.6.18-274.el5 while booting up if you have
already not configured it to boot to base kernel.
After
booting up system will fail to start xserver and asks you to reconfigure with
new xserver setup say yes and system will automatically start xserver.


Comments
Post a Comment